
Future Alternative Miniatures
- Wargame Exclusive
- Pop Goes the Monkey – Astartes Conversion Bits
- Zealot Miniatures
- Anvil Industry
- Curious Constructs
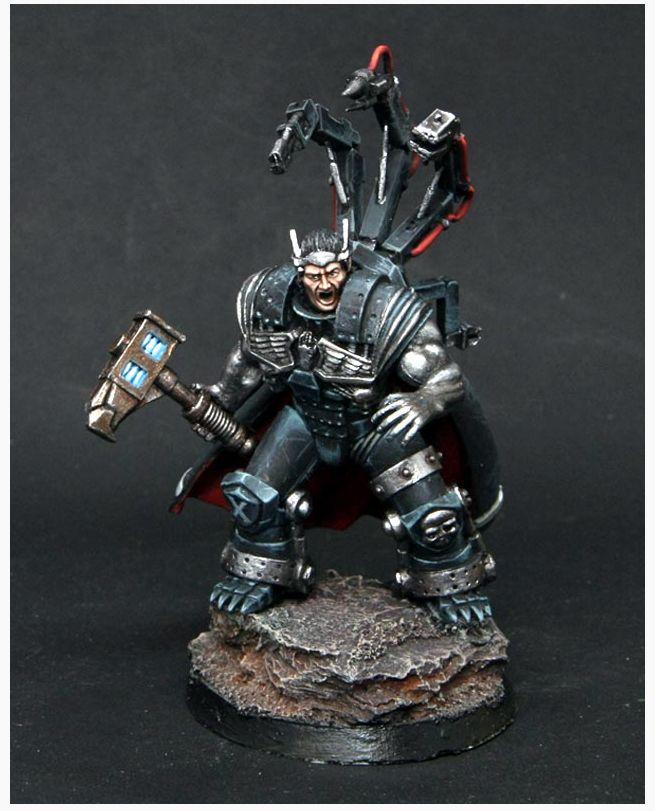 Soul Dark Sci- Fi Primarchs & More (Ferrus Manus Above)
Zinge
ChapterHouse Studios (Stormraven pic via justncloud on DV )
DreamForge-Games
Ultraforge Miniatures Fantasy and Sci-Fi Demons & More
wargameexclusive’s commissar
HiTech Miniatures
Pig-Iron-Productions (annouced closing 2016)
Statuesque Miniatures
Statuesque Miniatures
Puppets War – Enforcer
Blood and Skulls Industry
VictoriaMiniatures
Troll Forged
Warlord Games
Crooked-Dice (police heads lol)
mad robot miniatures
Heresy Miniatures
Spartan Games
Copplestone Castings (Berrets)
Hf minis
The Assault Group
Basicks
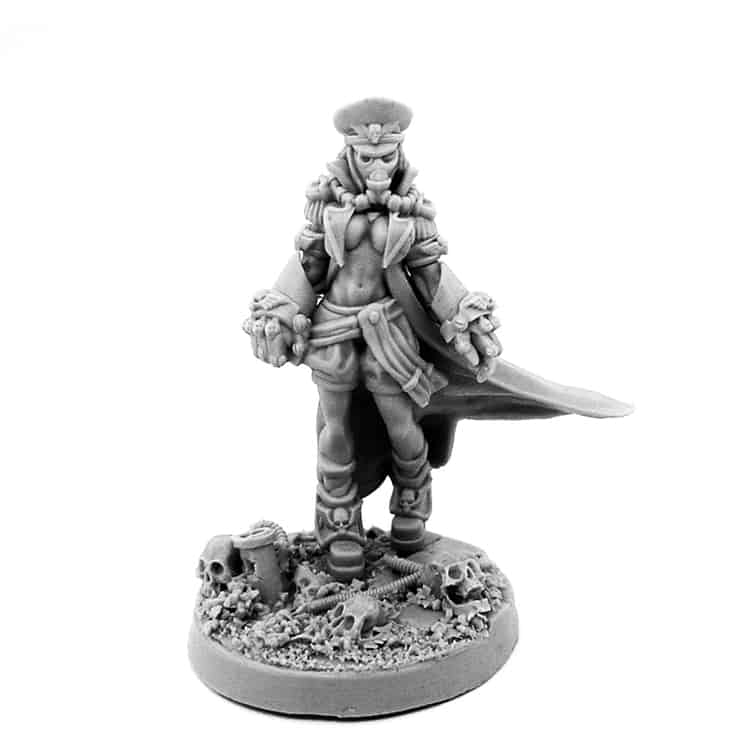
Eureka Min (female Astra-Militarum conversion pack)
westwind productions (possible Sanguinius head}
InfinitytheGame.com/store
VictoriaMiniatures
Troll Forged
Warlord Games
Crooked-Dice (police heads lol)
mad robot miniatures
Heresy Miniatures
Spartan Games
Copplestone Castings (Berrets)
Hf minis
The Assault Group
Basicks
Eureka Min (female Astra-Militarum conversion pack)
westwind productions (possible Sanguinius head}
InfinitytheGame.com/store
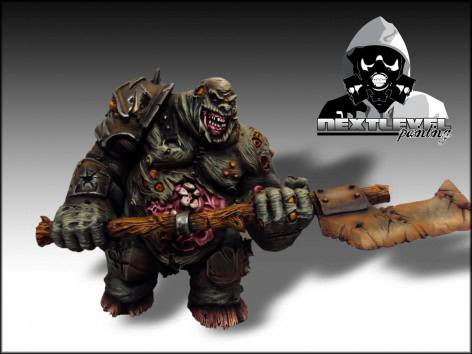
Kromlech’s Rotten Butcher
Blight Wheel Miniatures
Meridian Miniatures
Blitzkrieg Miniatures(WWII theme army?)
Secret Weapon Miniatures
Meridian Miniatures
Blitzkrieg Miniatures(WWII theme army?)
Secret Weapon Miniatures
Fantasy Alternative Miniatures
Dark Sword Miniatures
Avatars-of-War
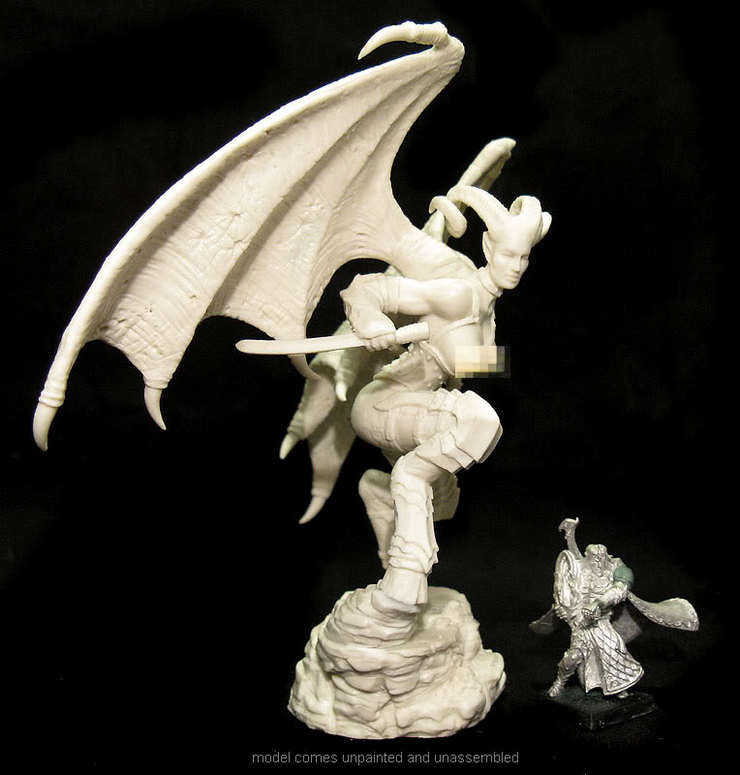
Reaper Mini
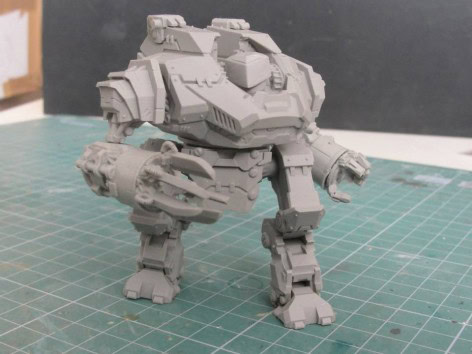
Titan-Forge
Game Zone Miniatures
Norsgard
Raging Heroes
fireforge-games
Perry Miniatures
Avatars-of-War
Reaper Mini
Titan-Forge
Game Zone Miniatures
Norsgard
Raging Heroes
fireforge-games
Perry Miniatures
Pleasure Demon Ultraforge
Mini Monsters Alterante and themed Terrain
Troll Forged
WarlordGames
Privateer Press
Megalith-Games
Hf minis
Wyrd-Games
The-Russian-Alternative…
Acolyte Minis
Kaha Miniatures
Warploque Miniatures
WereWoolf-EU
Mierce-Miniatures
Empress Miniatures
Claymore castings
Victrix Limited (Empire gunners in Napoleonic style?)
Troll Forged
WarlordGames
Privateer Press
Megalith-Games
Hf minis
Wyrd-Games
The-Russian-Alternative…
Acolyte Minis
Kaha Miniatures
Warploque Miniatures
WereWoolf-EU
Mierce-Miniatures
Empress Miniatures
Claymore castings
Victrix Limited (Empire gunners in Napoleonic style?)


.JPG)
.JPG)
.JPG)
.JPG)
.JPG)
.JPG)
.JPG)
.JPG)
.JPG)
.JPG)


